In ZBrush, Alphas are one very useful way to sculpt some detail into our models. We can create alphas from any photograph, any image. In this tutorial, I want to show how I create alphas for Zbrush, formerly in Photoshop and recently in Crazybump and in the end I want compare both alphas in Zbrush.
When I was experimenting, I found out that CrazyBump is a great tool to create alphas with depth compared to the alphas created in Photoshop. I don't deny other detailed methods to create more precise alphas in Photoshop and the same result can surely be achieved as well in Photoshop with a different procedure but here I am just comparing the two different one-minute methods.
For this tutorial, I chose Antique Marble texture. I want to create an alpha to sculpt detail for some assets I am currently working on.
First of all, It is important to have a square image, as ZBrush will stretch the image into a square if we have a different ratio image. I try to keep the image size at 512 pix or 1024 pix. Larger image sizes will be heavy on Zbrush and harder to use.
Turn the image into greyscale and make curves adjustment to bring up detail.
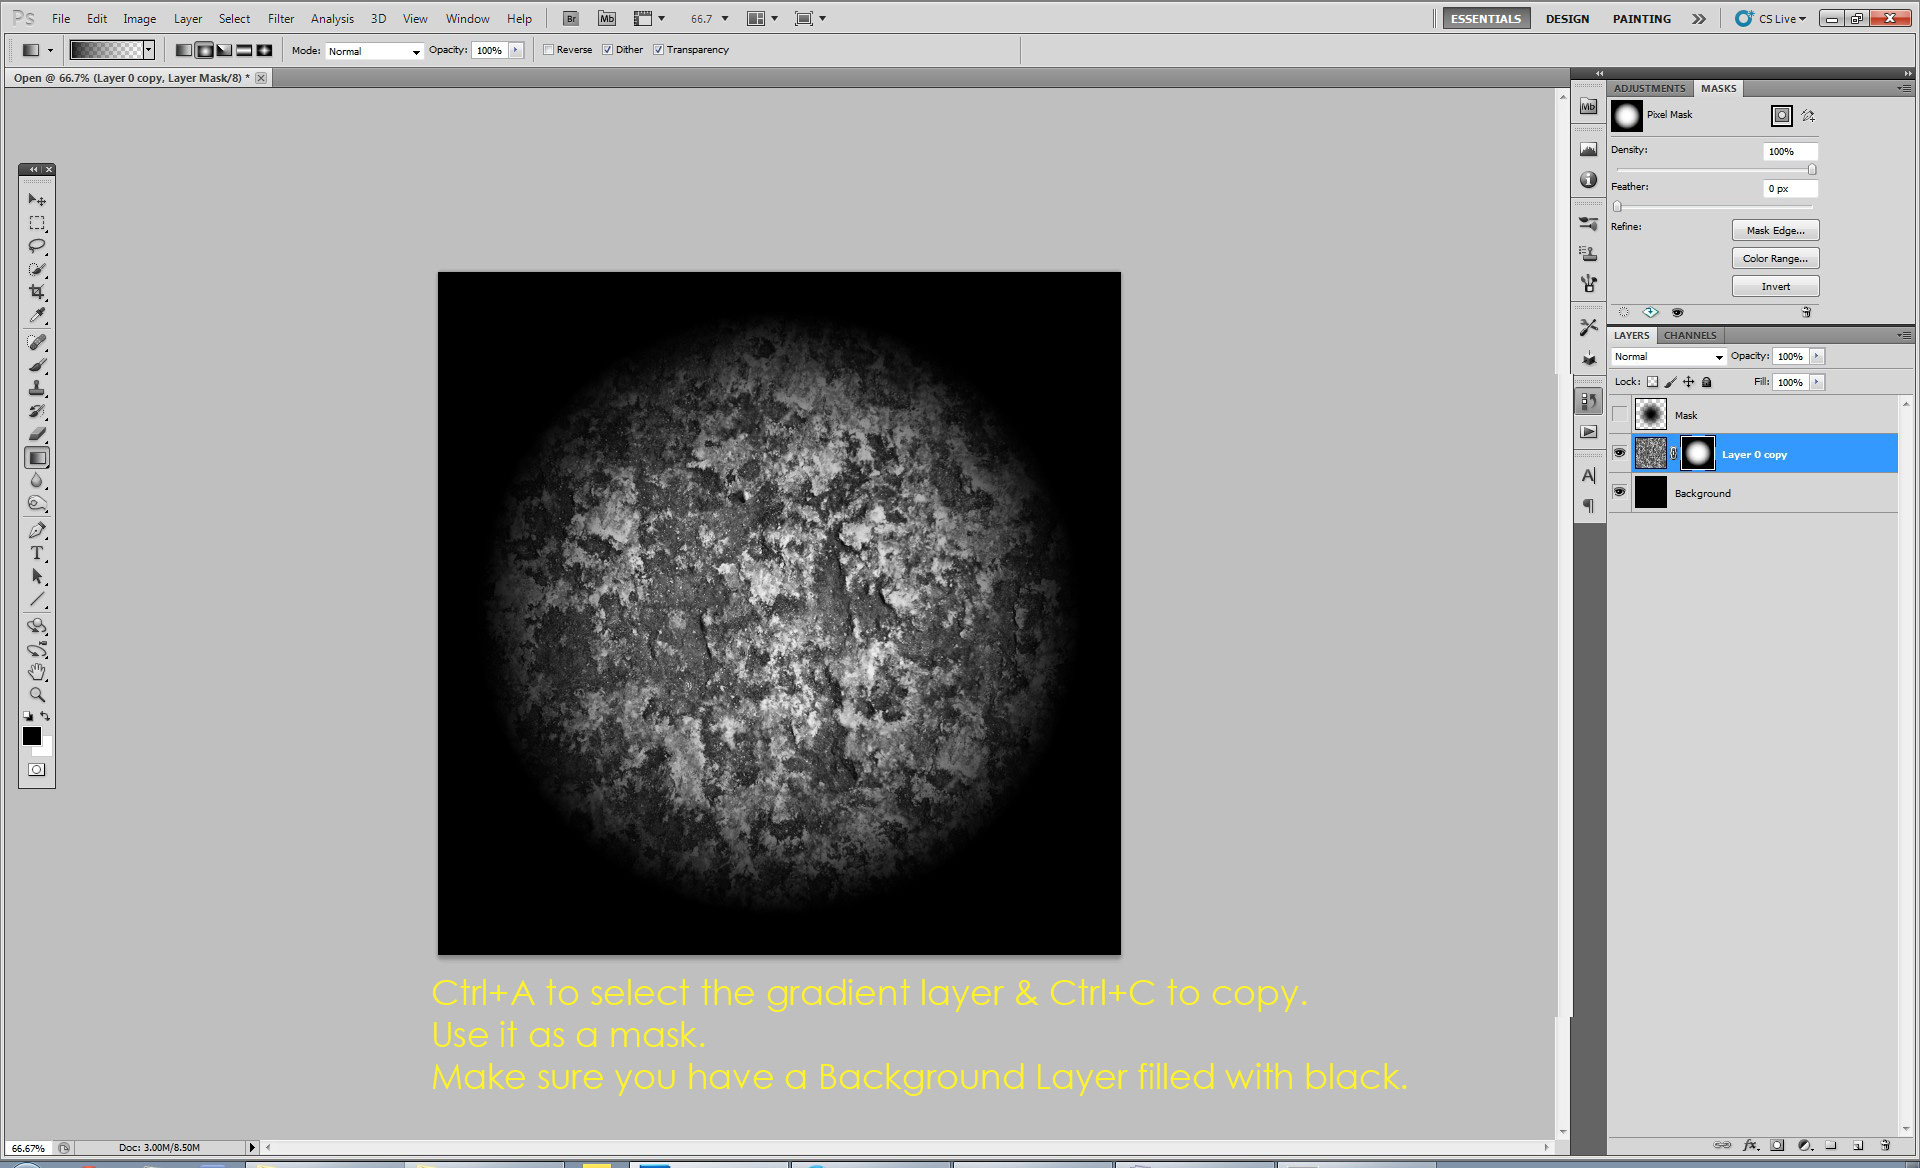
Then we will create a gradient mask in a new layer. We will use this gradient to mask our image so that we can use it as a brush alpha.
Make sure to convert the RGB image into greyscale so that ZBrush can recognise it as an Alpha.
We need to save this as a .psd file into ZBrushRootFolder/ZAlphas directory so that the newly created alpha will be recognised in ZBrush Lightbox.
ZBrush Lightbox works as a file browser and is a quick way of accessing native or custom-made brushes, alphas, models, noisemakers etc. It can be activated by " , " (the comma). When you clcik on the Alphas tab, here you will see the alpha you have just saved. I have the habit of saving with my initials as prefix so it is easier for me to browse my custom-made alphas. Just double-click on the alpha of your choice and it will be placed in the alpha of the current brush.
Now I will create the same alpha in CrazyBump and afterwards compare the alphas.
CrazyBump is a small but a powerful software to create and edit normal and displacement maps. We load our AntiqueMarble photo with the start-up menu. Then the software tries to evaluate the depth of the image and asks us to choose the correct peaks and valleys.
Then we edit the normal map and the displacement map with the sliders on the right-hand. It is pretty straight-forward and simple to use. The preview window is a very good feedback of the overall adjustment. I tend to keep my eye on this window.
When we are done with editing, we save our displacement map to clipboard or to a folder and repeat the same procedure of masking in Photoshop and then save our new file again to ZBrushRootFolder/ZAlphas directory.
Now both alphas are there and ready for testing. Just open up ZBrush and load the 2 alphas one by one. You can see my rsults below. Remember that both alphas are applied at the same z-intensity and same brush size.
You will notice the difference that the alpha created with Photoshop applies a surface displacement while the alpha created with CrazyBump has a better depth range.
I hope this tutorial has been helpful. Your comments, your feedback is always welcome.

